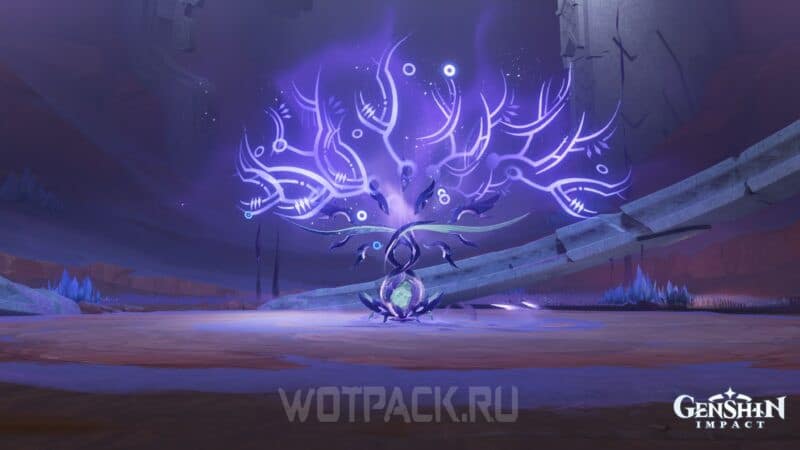
В Genshin impact Twilight Papilla is a world boss from Natlana, living in places with increased influence of the Abyss. This creature, resembling a huge plant from the outside, is able to absorb memories from the ground and change its appearance, turning into strong opponents and imitating their fighting style. The Twilight Papilla seeks to penetrate the ground deep enough to reach Irmynusl and appropriate his memory.
In this guide we will give information on where to find the Twilight Papilla and how to kill it, as well as what materials for character elevation drop from this boss. We will tell you about all possible imitations of the enemy and how to easily remove his shield.
How to get to the Shadow Papilla in Genshin Impact

The Shadow Papilla is located in the Stone Chamber of Decay cave, beneath the Cuahuacan cliff in western Natlan.


To reach the boss, move to one of the three teleporters nearby. The most convenient way is from the point of movement north of the statue of the Archons of this area. Move towards the cave at the base of the mountain between the territories of the two tribes, jumping down.


In the cave, reach the first teleport and move straight along the corridor without turning anywhere.

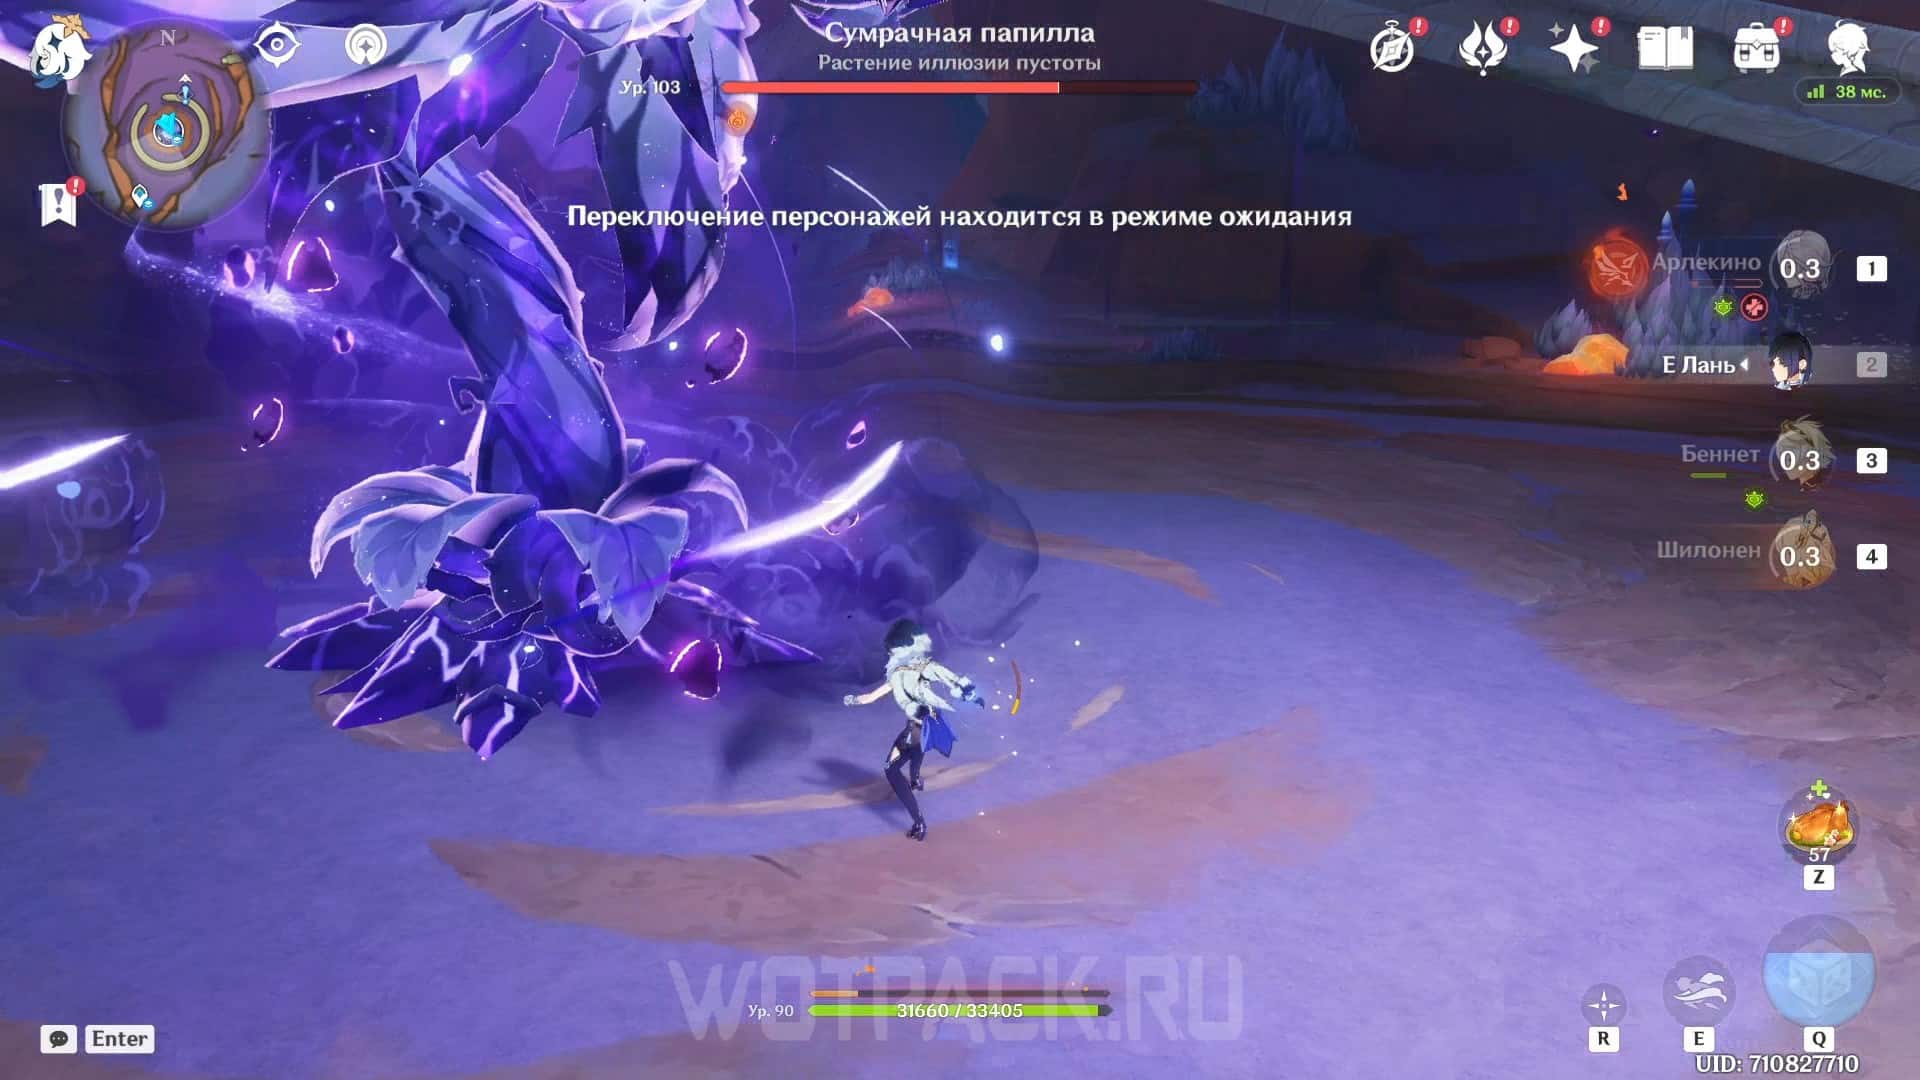
The long passage will eventually lead to a large cave with another teleporter, with a Shadow Papilla located in the center.
Who to take into the squad to fight the Twilight Papille

The Twilight Papilla has a standard resistance to all elements equal to 10%, which is why any strong damage dealers are suitable for fighting it. Periodically during the fight, the boss activates a void barrier that absorbs all incoming damage. The barrier is destroyed only by elemental attacks, so you should refrain from attacks that deal physical damage. Please note that attacks with the characteristic Night Spirit, that is, the attacks of characters from Natlan destroy the Shadow Papilla's shield faster.
Among other things, the boss is able to hang the Decay effect on the active character. This effect constantly reduces his HP, so it is recommended to additionally take a healer. The debuff goes through shields, but shielders will still be suitable to cover themselves from the boss's attacks.
Character selection
Below is a list of heroes that are most suitable for fighting the Shadow Papilla, as well as squads of them.
Main damage dealer
The main damage dealer. Elemental damage dealers with Night Spirit buff to break the shield faster are best:
| Character | Element | Weapon | Effects |
|---|---|---|---|
 Mualani Mualani |  Hydro Hydro |  Catalyst Catalyst | The gameplay consists of entering the Night Spirit Blessing state and attacking with the shark. With powerful attacks, it can quickly remove the boss's HP and destroy the shield. |
 Chaska Chaska |  Anemo Anemo |  Bow Bow | Paints bullets into allies' elements and then attacks with them. Her attacks have the Night Spirit effect, accelerating shield destruction. Due to her flight, she is useful against the dragon boss. |
 Kinich Kinich |  Dendro Dendro |  Two-handed sword Two-handed sword | A hero from Natlan who uses Night Spirit attacks. Hooks onto enemies and deals Dendro damage to them. |
 Neuvillette Neuvillette | Hydro | Catalyst | Deals Hydro damage through charged attacks. Its low mobility is compensated by high single-target damage, and its ability to self-heal increases survivability. |
 Ayato Ayato | Hydro |  One handed sword One handed sword | Has fast strikes during the stance, which will speed up the removal of the shield due to more frequent application of the Hydro status. |
 Tartaglia Tartaglia | Hydro | Bow | Plays primarily through reactions, so he can quickly destroy the Shadow Papilla's shield with a large number of elemental attacks. |
 Al-Haytham Al-Haytham | Dendro | One handed sword | Can move quickly around the battlefield thanks to its mobility. Uses normal and charged attacks under Dendro Infusion. |
 Tignari Tignari | Dendro | Bow | Deals damage to Dendro with charged shots from a distance. Can deal a lot of damage in a short amount of time. |
 Arlekino Arlekino |  Pyro Pyro |  A spear A spear | Plays off the Life Debt mechanics. Colors its attacks in Pyro, but requires keeping a close distance to the enemy. |
 Yoimiya Yoimiya | Pyro | Bow | Handy against bosses thanks to its fast ranged attacks under Pyro Infusion. With a charged shot it can knock down a dragon. |
 Lyney Lyney | Pyro | Bow | Attacks with charged shots from a long distance. Despite the fact that it spends its HP, it can quickly heal itself. |
 Ganyu Ganyu |  Cryo Cryo | Bow | Like Lini, she attacks with charged attacks, but with Cryo. Her ult creates a field inside which she hits enemies with Cryo damage. |
 Ayaka Ayaka | Cryo | One handed sword | Gives itself a Cryo infusion, then attacks with normal and charged attacks. It is worth considering that the energy requirements are higher against single enemies, so it is worth taking care of having a battery in the squad. |
 Clorinda Clorinda |  electro electro | One handed sword | An Electro Damage Dealer from Life Debt who uses normal attacks as shots. Works well with healers. |
 Raiden Raiden | electro | A spear | A versatile heroine who can be both a primary and secondary damage dealer. Restores energy to the squad, which is useful in a battle with a single enemy. |
 Navia Navia |  Geo Geo | Two-handed sword | Main DD from Crystallization. Plays in elemental squads, so she can remove the shield both by herself and with the help of a sub-DD. |
 Wanderer Wanderer | Anemo | Catalyst | Possesses a catalyst, so even with normal attacks it deals elemental damage. Thanks to its flight, it can avoid damage from the boss if you dodge it correctly. |
Sub-dd
Secondary damage dealers who attack from the pocket and help the main DD. As in the case of the previous point, it is recommended to take a sub-DD with the Night Spirit effect to easily remove the Twilight Papilla's shield.
| Character | Element | Weapon | Effects |
|---|---|---|---|
 Ororon Ororon | electro | Bow | Deals Electro damage from the pocket and restores energy to allies. Has the effect of Night Spirit on attacks. |
 Kachina Kachina | Geo | A spear | Standard Geo sub-DD, dealing damage on and off the field with the Night Spirit effect. Can wear a support set of artifacts from Natlan Scroll of the Hero of the Burnt City. |
 Ye Lan Ye Lan | Hydro | Bow | After the ult is dropped, attacks together with the active character, giving a lot of elemental status. |
 Xingqiu Xingqiu | Hydro | One handed sword | A budget version of Ye Lan. In addition to pocket Hydro damage, it increases interrupt resistance and heals a little. |
 Furina Furina | Hydro | One handed sword | Reduces HP of the squad, but gives a lot of personal damage and increases the damage of the group through the ult buff. Can heal the active character in the Pneuma stance if necessary. |
 Mona Mona | Hydro | Catalyst | E-shka will not be able to distract the boss, but the explosion of elements will increase the damage dealt to the enemy for a short time. |
 Nahida Nahida | Dendro | Catalyst | Pocket Dendro damager, plays from marks and reactions. Increases the elemental mastery of the active ally. |
 Emilia Emilia | Dendro | A spear | Gives Dendro status, shows itself well in teams through Burning. |
 Xiangling Xiangling | Pyro | A spear | Uses an elemental explosion to deal high Pyro damage in a large area around itself, buffing attack power through pepper. |
 Dehya Dehya | Pyro | Two-handed sword | Attacks Pyro with an element along with the main damage dealer, and also reduces incoming damage. |
 Rosary Rosary | Cryo | A spear | Places a field that deals Cryo damage, so it's good against slow-moving bosses. Increases the team's crit chance. |
 Keia Keia | Cryo | One handed sword | Due to frequent Cryo attacks from the ult, he is useful as a sub-DD to remove the shield from the boss if there are no other alternatives. |
 Fischl Fischl | electro | Bow | Places a raven on the field with an ult and a skill that performs joint attacks. Particularly useful on C6, when such attacks become even more frequent. |
 Beidou Beidou | electro | Two-handed sword | Electro sub-dd from the ult, launching chain lightning. On C1 can create a shield. |
 Yae Miko Yae Miko | electro | Catalyst | Places totems that periodically attack the enemy with Electro damage. Requires time on the field to place them and activate the ult. |
 Albedo Albedo | Geo | One handed sword | Attacks together with main DD and increases elemental mastery. Elemental skill should be set carefully, as the boss can destroy it. |
Sapports
Support heroes for healing, buffs and shields:
| Character | Element | Weapon | Effects |
|---|---|---|---|
 Kokomi Kokomi | Hydro | Catalyst | A strong healer with a fairly stable status. In the ult, he can hit with regular Hydro attacks to remove the barrier. |
 Sijwin Sijwin | Hydro | Bow | Another Hydro healer. Unlike Kokomi, it gives less status, but enhances the skills of pocket damage dealers. |
 Bai Zhu Bai Zhu | Dendro | Catalyst | Dendro is a support character who creates shields and heals allies. During his ult, he can attack Dendro with damage from his pocket. |
 Yao Yao Yao Yao | Dendro | A spear | Combines the abilities of a healer and a sub-DD depending on the HP of allies. |
 Bennett Bennett | Pyro | One handed sword | A versatile support that provides healing, attack power, and a Pyro element with frequent E recharge. Will quickly heal a character with Decay. |
 Thoma Thoma | Pyro | A spear | Strong shielder. During the explosion of elements, attacks Pyro with damage, and if there are constellations, buffs allies. |
 Laila Laila | Cryo | One handed sword | Cryo shielder who can attack from the pocket during the skill and ultimate. |
 Dione Dione | Cryo | Bow | A versatile Cryo support that provides healing and shields. If equipped, it increases Elemental Mastery if the active ally's health is above 50%. |
 Cookies Cookies | electro | One handed sword | Spends her health, but in return heals the active character. Her skill consistently attacks Electro in the area around the hero. |
 Shilonen Shilonen | Geo | One handed sword | Hits enemies with the Night Spirit stat, reduces the boss's defense against allied elements, and heals the squad. |
 Zhongli Zhongli | Geo | A spear | Has a strong shield from the skill and damage from the ult. Reduces resistance to all elements and physical damage. |
 Jean Jean | Anemo | One handed sword | A strong Anemo healer who heals the entire squad. Can wear a set. emerald shadow. |
Top Teams
Examples of squads from the listed characters that allow you to quickly kill the Twilight Papilla:
| Character 1 | Character 2 | Character 3 | Character 4 | Features |
|---|---|---|---|---|
| MualaniAyatoTartaglia | KachinaShilonen | Bennett | XianglingDehyaThoma | A squad with a Hydro damager and a Steam reaction from the supports. Characters from Natlan will help remove the barrier from the boss. The last slot can be used for a sub-DD or a support for protection, depending on the difficulty of the fight. |
| Neuvillette | FischlRaidenOroron | DioneLaila | ZhongliShilonen | A group with Nevillet and various reactions to make his passive work. Of the Natlan characters, it is recommended to take Ororon or Shilonen to remove the Twilight Papilla's shield. |
| Kinich | Emilia Collei Collei | Bai ZhuYao YaoBennett | Xiangling | Team through Burning with Kinich. Xiangling and Dendro sub-dd cause a reaction and deal damage from the pocket. Replacing Kollei with Nahida is not advisable, since ticks from the E-shka will be rare due to the specificity of the Burning reaction. As a support, you can take another Dendro hero or Pyro. |
| NaviaChaska | XianglingDehya | CookiesOroron | FurinaMona | A team that depends on a sub-DD. Depending on the composition of heroes on the account, you can take either Chaska or Navia as a main-DD. Chaska is more advantageous in terms of removing the shield, but Navia also interacts well with the listed allies. |
| Al-HaythamTignari | FischlYae MikoOroron | KokomiSijwin | Nahida Dendro GG Dendro GG | The second option of the team with Dendro damager, but through reactions with Electro and Hydro. Kokomi will give more status for reactions, but Sijvin will strengthen the sub-dd. If there is Ororon, then take him, and not Fischl or Yae Miko. |
| ArlekinoLyney | XianglingDehya | Bennett | Shilonen Kazuha Kazuha | Mono-Pyro team with Harlequin or Lini as main DD and any two more Pyro characters. You can also put Shilonen in the squad to cut resistances or Kazuha with Viridescent Venerer. |
| Yoimiya | Ye LanXingqiuFurina |  Yun Jin Yun Jin | ZhongliShilonen | Party with Eimiya, whose normal attacks are buffed by Yun Jin. If the party is good at surviving, Zhongli can be replaced with Shilonen for a buff. |
| GanyuAyaka | Rosary | KokomiMona | LailaDione | Even though Freeze doesn't work on bosses, this type of unit still has high damage. Rosaria gives crit chance, and Kokomi or Mona gives buffs and Hydro status. |
| Clorinda | Furina | Jean | NahidaDendro GG | Group with Clorinda via Electro's reactions with Dendro and Hydro. Djinn inflates the elements and heals allies after Furina's skills, providing a quick set of fanfare. |
| Wanderer | Ye LanXingqiu | Bennett |  Faruzan Faruzan | A squad with Wanderer under buffs from Faruzan and Bennett. Hydro and Pyro characters give Scaramuccia attack power and increase the flight time, which allows him to make more hits during the stance. |
Budget detachments
Teams of free characters that all players have:
| Character 1 | Character 2 | Character 3 | Character 4 | Features |
|---|---|---|---|---|
 Ember Ember | Xiangling |  Barbara Barbara | Kachina | F2P team via charged attacks from Ember. Xiangling gives Pyro resonance and deals extra damage. Kachina wears Scroll of the Hero of the Burnt City and buffs allies' Pyro. |
| Xiangling | Keia |  Lisa Lisa |  Lynette Lynette | A party that plays by summoning elemental explosions. All characters attack from their pockets and activate various reactions. Lynette inflates the elements and absorbs one of them. There is no priority for the absorbed element. |
| Lisa | Dendro GG | Barbara | Collei | Free team with Dendro and Electro reactions, where Lisa deals the main status damage from two Dendro sub-dds. Barbara heals and applies Hydro for Budding. |
Boss attacks and abilities
During combat, the Twilight Papilla randomly alternates between several attacks.
Simulation: Ruin Dragon

Transforms into a world boss Aeonblight Drake and uses his blows, attacking from the ground and air.
Imitation: Primo Geovishap

Changes its appearance to ancient geovishap, which deals powerful area attacks.
Imitation: Magu Kenki

Uses Anemo attacks and creates clones just like the real thing. Magu kenki.
Imitation: Seahorse of a thousand-year-old pearl

In the form Seahorse of a thousand-year-old pearl begins to jump through the air and then quickly attacks from above.
Imitation: Pyro orchid
Turns into pyro orchid and accumulates energy in his whisk and lowers it onto the character below him.
Imitation: Jadeplume Terrorshroom

Takes shape feather mold and uses his attacks.
Imitation: Hypostasis

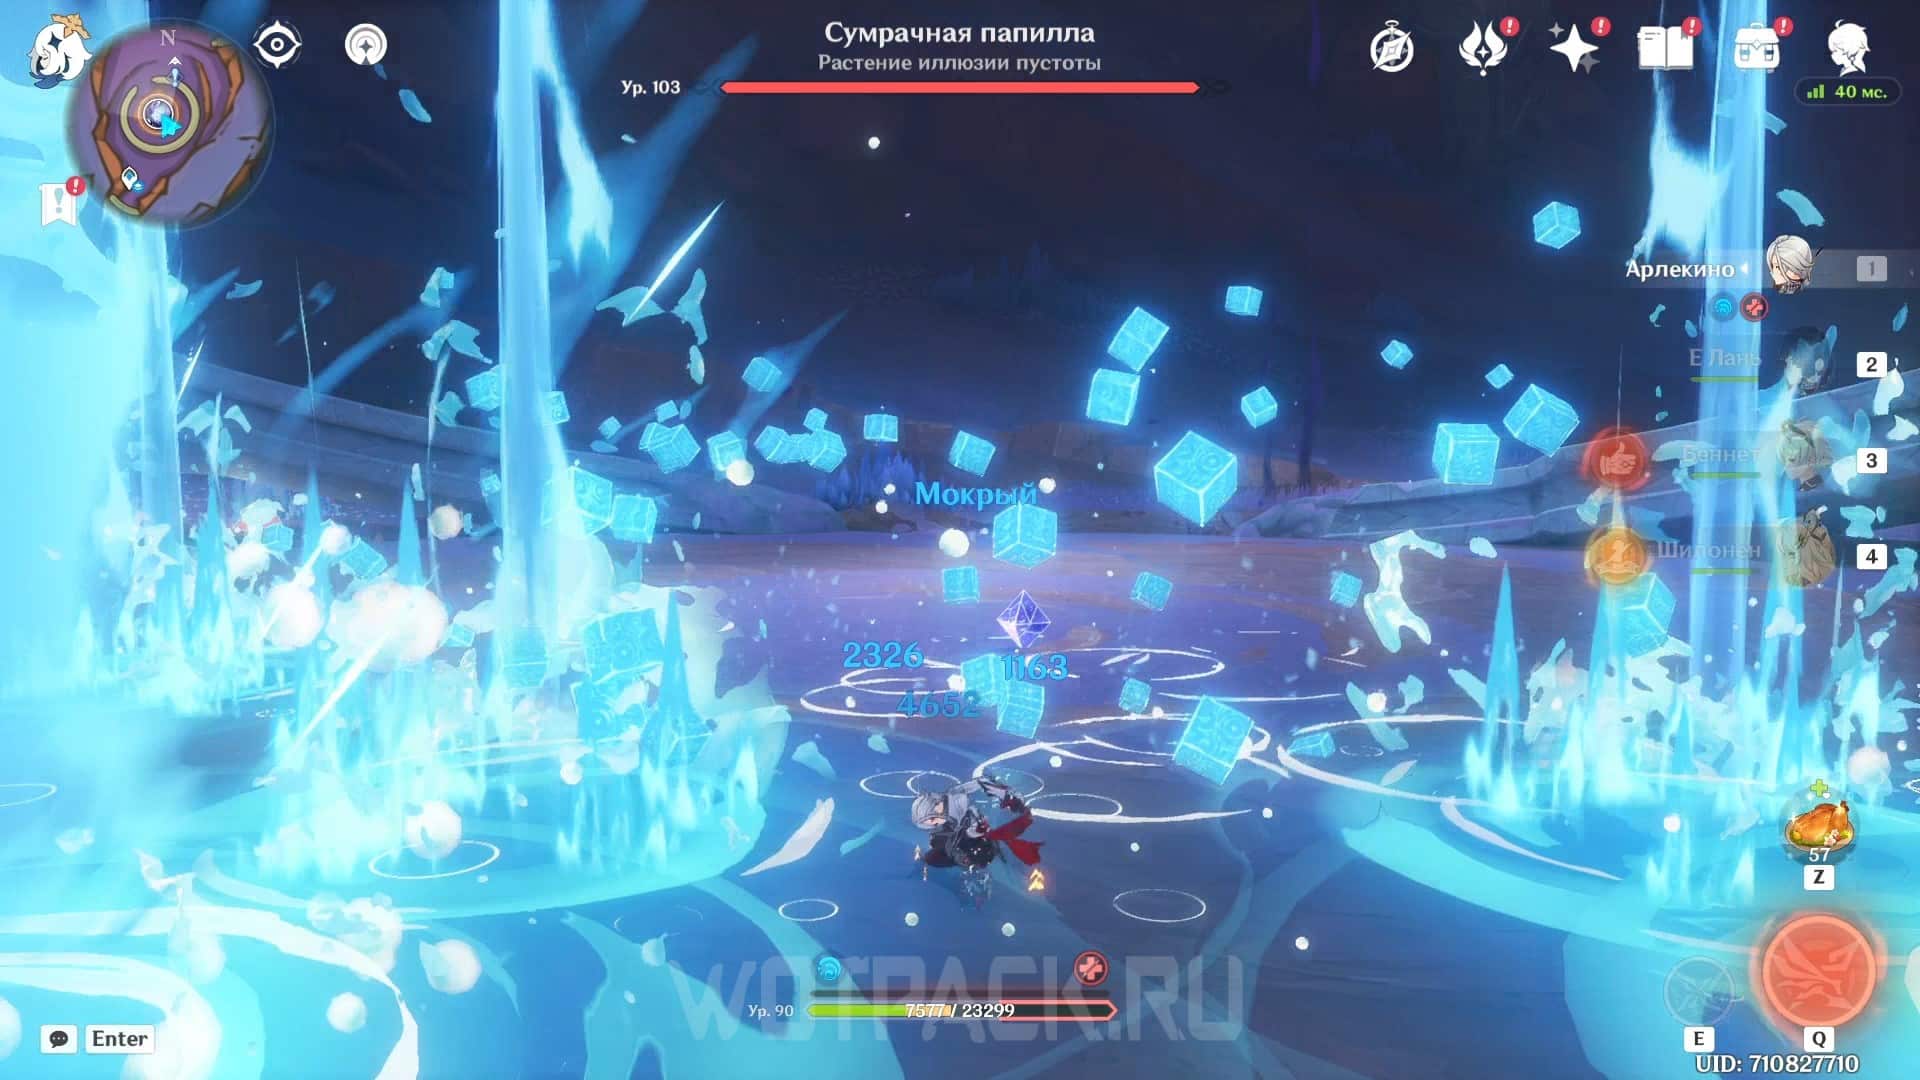
Can use various abilities electro, Cryo и Hydro hypostasis.
Imitation: Voracious Mountain King Yumkasaurus

Transforms into King Yumkasaurs and spins, dealing area damage to Dendro.
Imitation: Golem Legate

Changes appearance to Marble and brass statue and attacks primarily over an area.
Appeal to the Darkness


Creates a barrier during which it attacks characters with blows that ignore the shield. Each blow places a Decay effect on the hero, gradually reducing his HP. If the barrier is not destroyed in time, the Shadow Papilla will perform an attack that covers almost the entire arena.
How to Beat the Shadow Papilla in Genshin Impact
To defeat the Shadow Papilla, it is recommended to perform some actions that will speed up the fight with the boss and increase the survivability of the team.
Before the fight, use potions and food with buffs

The table shows the most beneficial dishes for the buff. There are many recipes in the game to strengthen the characters, you can cook any other option depending on your resources.


Avoid attacks during Call to Darkness

Shadow Papilla's attacks in this state apply a debuff that constantly reduces HP. If you can't dodge them, put a strong healer in the party, who will negate all incoming damage.
Destroy the void barrier

During Call to Darkness, the boss is covered by a void barrier. Use elemental attacks and Night Spirit attacks to destroy it, weaken the boss and avoid a strong AoE attack.
Achievements for Twilight Papilla
In total, you can get two achievements for the battle with the Shadow Papilla.
Elemental Armor Bomb

Condition: Destroy the Twilight Papilla's Void Barrier once. Reward: primogems ×5.


Put characters with elemental damage in the party, ideally they should be from Natlan. Then attack the boss and wait until he goes into the "Invocation of Darkness" state. Perform elemental attacks or strikes with Night Spirit to destroy the barrier in time.
Zavrian of a special form

Each time you come to the boss, he has a certain number of forms that he can take, and they change after his death. To open the achievement, you need to kill the enemy three times when he is in each of the required forms of other bosses. If you get a combination where the necessary enemy is not there, kill the Twilight Papilla so that it refreshes, and return to the fight again. Reward: primogems ×5.
Read more about completing the Zavrian Special Form achievement in the guide The winner is 10.
Rewards for defeating the Shadow Papilla
After defeating the boss, you need to spend 40 units of resinto get resources from it:
- Adventure EXP ×200.
- Friendship experience и mora.
- A heavy look is the material for exaltation Chaski.
- Shards, fragments, pieces and gems agate agnidus - items for upgrading Pyro characters.
- Shards, fragments, pieces and gems amethyst Vajrad - needed for upgrading Electro heroes.
- Shards, fragments, pieces and gems turquoise Wayuda - materials for upgrading Anemo characters.
Artifacts:
- 5-4⭐ Gladiator’s Finale.
- 5-4⭐ Itinerant ensemble.
- 4-3⭐ Instructor.
- 4-3⭐ Berserk.
- 4-3⭐ Fire Shaman (Crown of the Mind).
We hope this article helped you find and kill the Twilight Popilla in Genshin Impact. If you have any questions, feel free to ask. in comments... Read guide to other bosses and follow the exit Genshin Impact guides on our website.